Install Instructions For Traeger Replacement Auger Assembly Kit for the Junior elite 20, Tailgater & Bronson (KIT0053) SUB023
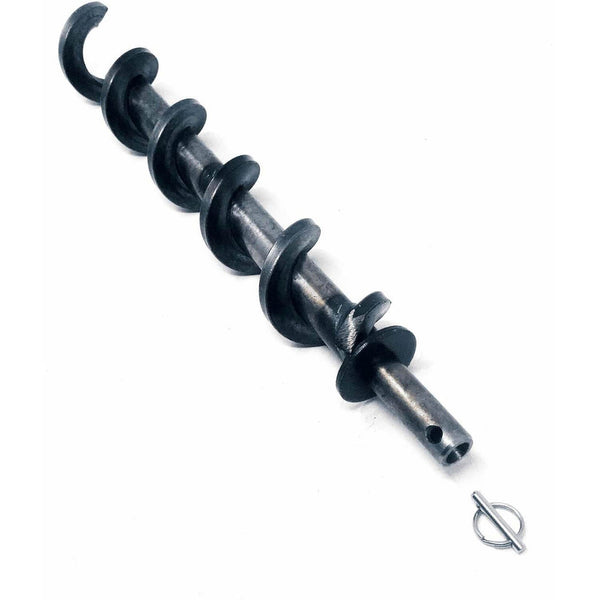
Auger shafts can often bind up inside the feed tube if they become warped. This can happen if the pellets in the feed tube become wet. To verify if you warped, remove the shaft and roll it across a flat surface. If it is warped, you will notice the slight bend as it rolls.1) DANGER! Turn the Switch OFF (o) and disconnect the Power Cord.
2) CAUTION! If the Grill is still hot, allow it to thoroughly cool.
3) Remove any covers necessary to access the Auger Drive Motor.
4) Remove the screw connecting the Auger Drive Motor shaft to the Auger shaft and the screw retaining the Auger Bushing into the Auger Tube.
5) With a small pipe wrench or locking pliers on the Auger shaft, turn the Auger counterclockwise. It will turn hard until it breaks free, then the Auger will turn freely.
6) Remove the Auger and clean all Pellets, ash or foreign objects from the Auger, Auger Tube, and Firepot. (See instructions for proper handling and disposal of ash in Section Five)
7) Sand the outside surfaces of the auger with medium grit sandpaper. Check the inside of the Auger Tube and sand it if needed. Vacuum the sanding grit out of the Auger Tube and Firepot when finished. Check that the Auger rotates freely.
8) Re-attach the Auger shaft to the Auger Drive Motor shaft.

