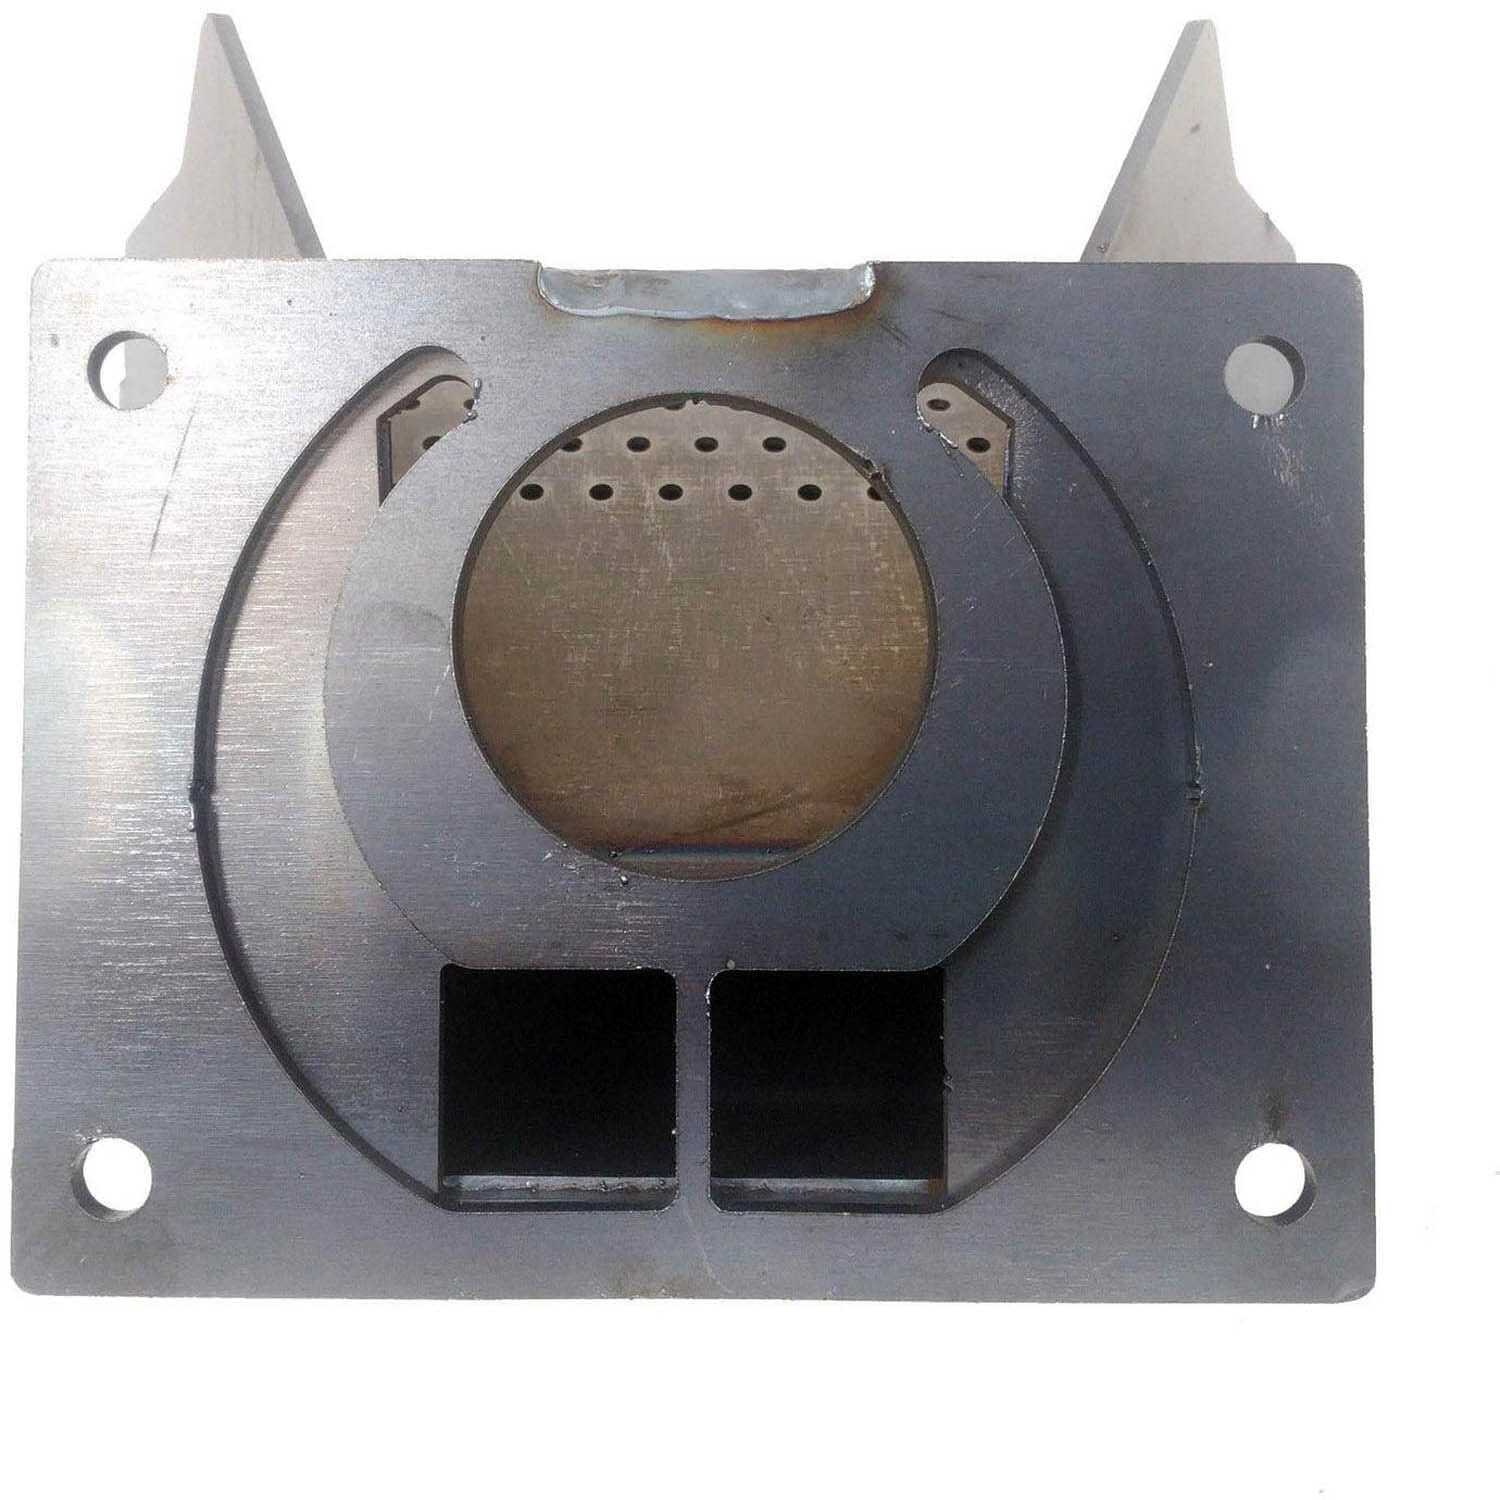
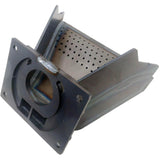
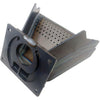
Install Instructions For Harman P68 Burnpot Weldment: 1-10-06723-AMP
1.) Unplug your stove and make sure that the unit is cool to the touch.
2.) Remove the side and rear panels from the unit and locate the yellow and light blue colored wires that are coiled up.
3.) Cut the zip ties that hold this collection of wire together (When the burn pot is removed, this extra wire (yellow and blue) needs to be fed back into the neck of the burn pot. The igniter is located inside if the burnpot. This step must be taken so you can disconnect the ignitor when replacing the pot).
4.) Locate and remove the (4) 1/2" nuts that secure the burnpot to the threaded rods coming from the feeder weldment (You may need a universal joint at the end of your socket wrench to make the connection at the top nuts).
5.) Pull the burnpot assembly forward until the yellow and light blue wires are visible, then disconnect the igniter wires.
6.) Now the burn pot is free and can be removed from the stove.
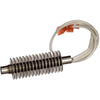
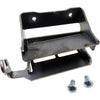
7.) Remove the two 5/16" screws that attach the igniter cradle in to the burnpot and remove the igniter assembly.
(This is a good time to replace the ignitor if you need to do so).
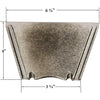
8.) Replace your burnpot gasket. (Make sure the yellow and light blue wires coming from the rear of the unit are passing through the burn pot gasket and are not pinched between the gasket and the rear of the stove).
9.) Connect your igniter wires and pull the yellow and light blue wires from the back of the stove so that the disconnects pass backward through the opening (Try to take out as much slack in the igniter wires as possible so that they aren't pinch by the burnpot when it is fit into place. Also, make sure to run the wires for the igniter through the right-side opening at the bottom rear of the burn pot).
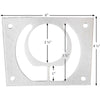
10.) Place your new burn pot over the threaded rods and tighten down all (4) 1/2" hex nuts by hand. Once all nuts are tightened by hand finish tightening in a crisscross pattern using your wrench or socket. This will ensure that the burn pot and gasket seats evenly against the back of the unit).
11.) Replace the clean out cover.
12.) Secure the wires you previously freed up at the rear of the stove using a zip tie and reinstall any panels that were removed.