How to: 4 Steps To Remove Your Pellet Grills Burner Assembly For Repairs
Every once in a while, you may find your pellet grill in need of repairs. Thankfully, it’s very easy to make repairs on most pellet grills, this is in part due to every mechanical part being located in the burner assembly. In this article, I’m going to take you through a simple step-by-step process of how to remove the burner assembly from your pellet grill. Even though I’m going to be using a Pit Boss 820 grill for reference, these instructions are nearly identical for most brands, including: Traeger, Z Grills, Cabela’s, Embers Grills, Louisiana Grills, and Camp Chef.
Before we begin, you may be wondering what a pellet grill burner assembly is. The burner assembly on a pellet grill is the portion that houses the pellets, control board, auger motor, and auger shaft, and wires. All parts needed to repair your stove after following this article can be purchased here.
Without further delay, lets dig into removing the burner assembly to get to those broken parts.
Step 1: Remove the grates and drip pan from the grill. Everything inside the grilling area needs to come out. This includes grill racks, drip pan, and the RTD probe. This is the perfect time to scrub everything up with some grill cleaner, rinse and let them dry while you are doing the other work. If you’re out of grill cleaner, you can find a plant based all natural cleaner here.

Step 2: Disconnect the RTD probe from the controller. Making sure that the grill is not connected to any power source, remove the two screws securing the controller to the assembly. This will let you gently lift up and wiggle the controller out of the grill. The RTD probe on some models may be zip-tied to the wiring harness and be somewhat secure; this will make moving the controller difficult. The wires for the RTD probe will be connected to a terminal block at the top left of the controller. Find the two steel braided wires at the top. Using a very small eyeglass repair flathead screwdriver, loosen the connector screws and remove the braided wires from the block.

Step 3: Remove the RTD probe from the grilling area.
There are four Phillips head screws you need to remove in the grill area. Two in the outer wall that holds the probe shield in place and two screws that fasten the probe itself to the left. This step is the only portion that may be different between manufacturers; the location of the probe and how it is secured. With the screws removed, gently pull on the braided RTD probe wire to slip it through the wall of the burner assembly, remove the probe from the grill area.

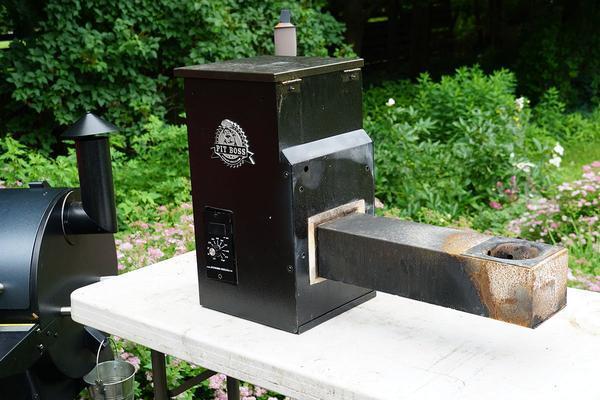
Step 4: Separating the Burner Assembly from the Grilling Area
There are only 4 hex or Phillips screws holding the assembly to the grill wall. If all of the grates are removed from the grill, look on the left wall, two will be about 3/4 of the way down and about 12 inches off center, the other two will be directly above them, just under the shelf bracket for the drip pan. With these four screws removed the two main sections of the grill will come apart. Gently slide out the burner assembly.

Inside the burner assembly are the combustion fan, feed motor, controller, igniter, burnpot, feed tube, and wiring harness. Getting to those components is different for each manufacturer but usually will involve removing the bottom of the assembly first, disconnecting the grounding wires and then further separating the wall of the mechanical cabinet to expose the components. This is all rather easy and can be figured out with a little DIY know how.
Leave a comment