Product title:
Product availability:
In Stock
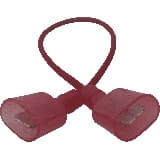
Harman Igniter (306W): 3-20-677200-AMP
Product price:
$49.99
A $70.00 Savings over the OEM
Product SKU ! 3-20-677200-AMP
Product MPN ! 3-20-677200
Bullet point features
- Aftermarket Part Learn more about the difference between OEM and AMP parts
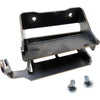
- You may also need the cradle found here
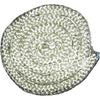
- We recommend replacing the burn pot gasket
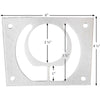
- Always replace the door gasket when changing the igniter
- Ships FREE with orders over $99
- 30-Day Hassle Free Returns
- 90 Day Warranty Included
- Same Day Shipping On Most Items!*
- See Complete Description
You may also want to consider...
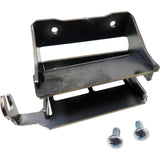
Harman Igniter Cradle (Updated): 1-00-777907-AMP
Extremely pleased I have recently placed 3 orders for parts for our older Harman Pellet Stove. They not only were able to cross reference part numbers to ensure fitment but all parts fit perfect and delivery was second to none. Highly recommend.