


Product title:
Product availability:
In Stock
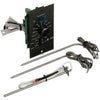
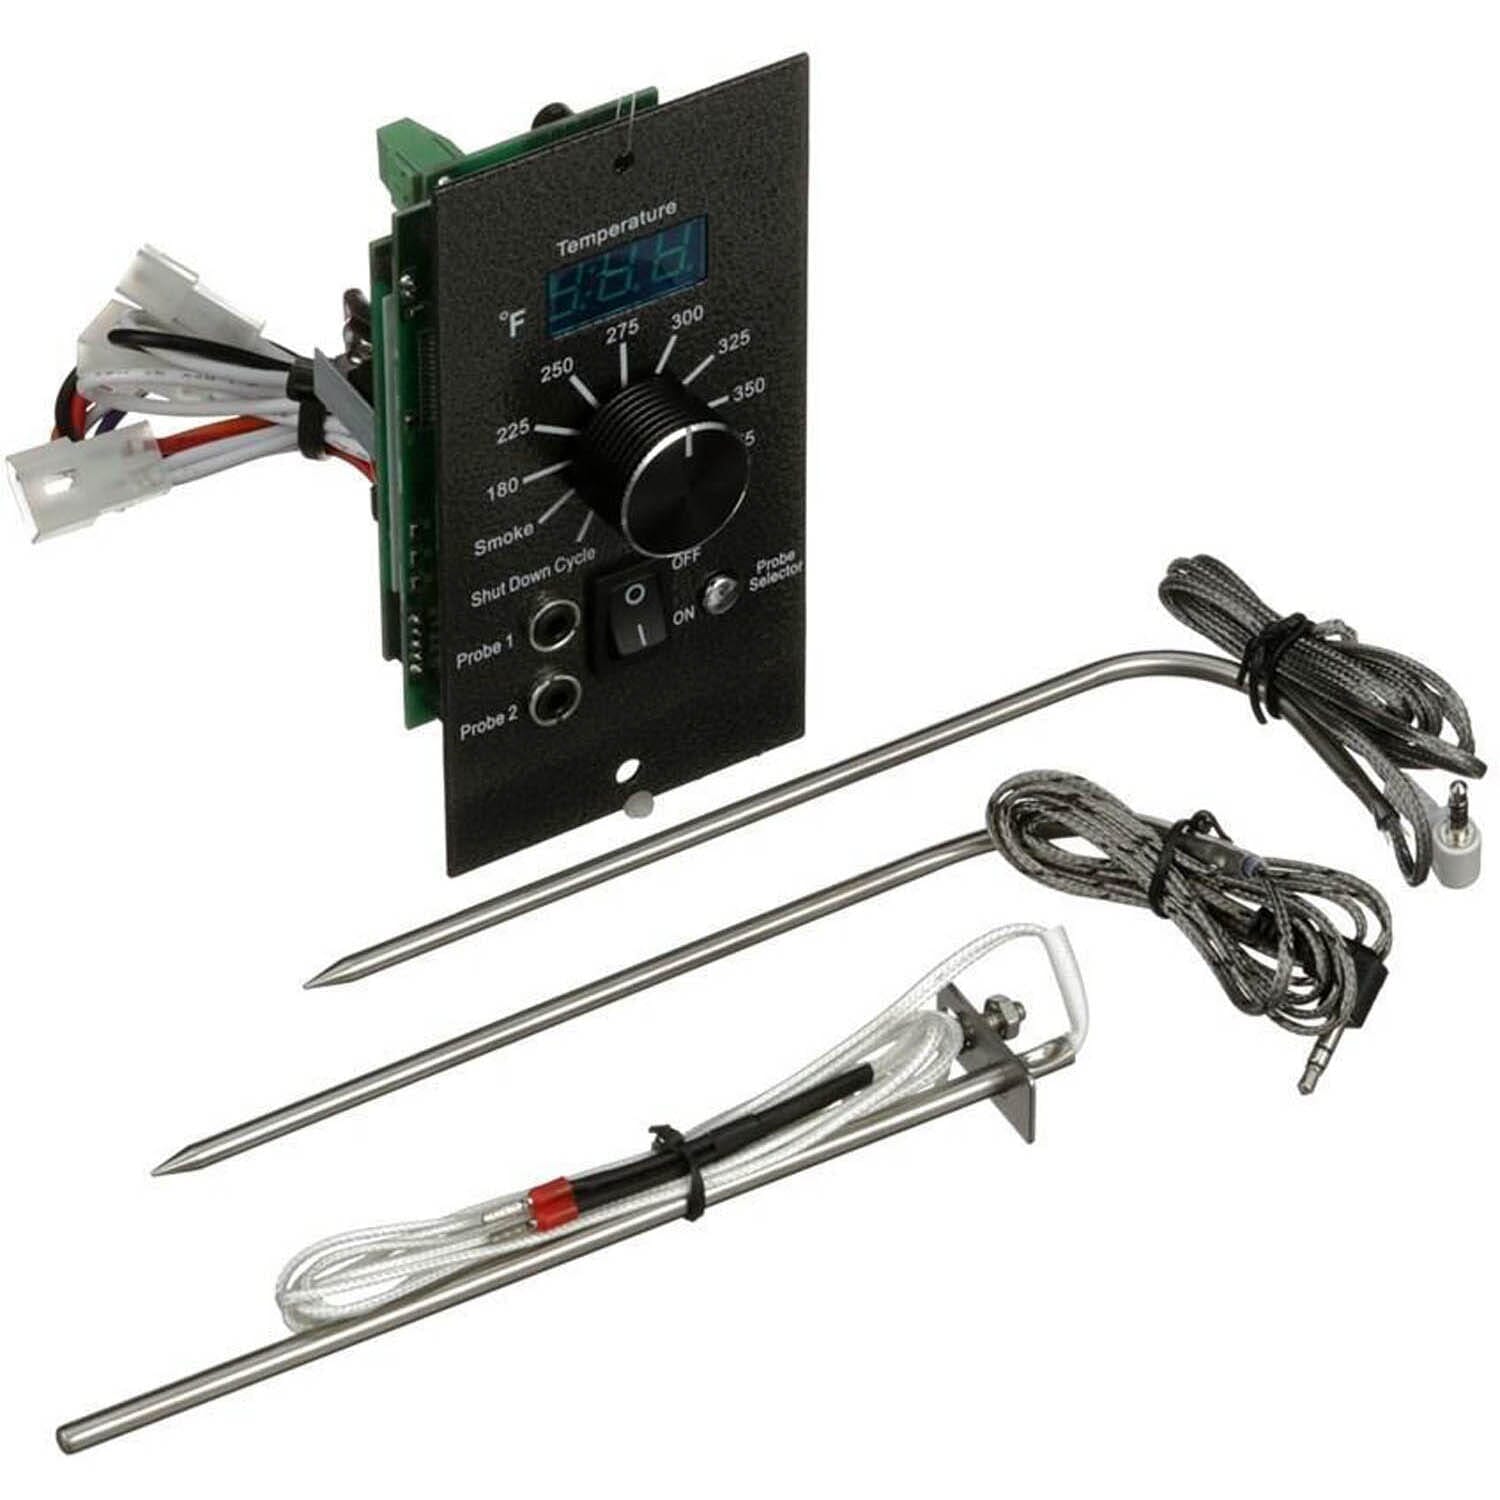
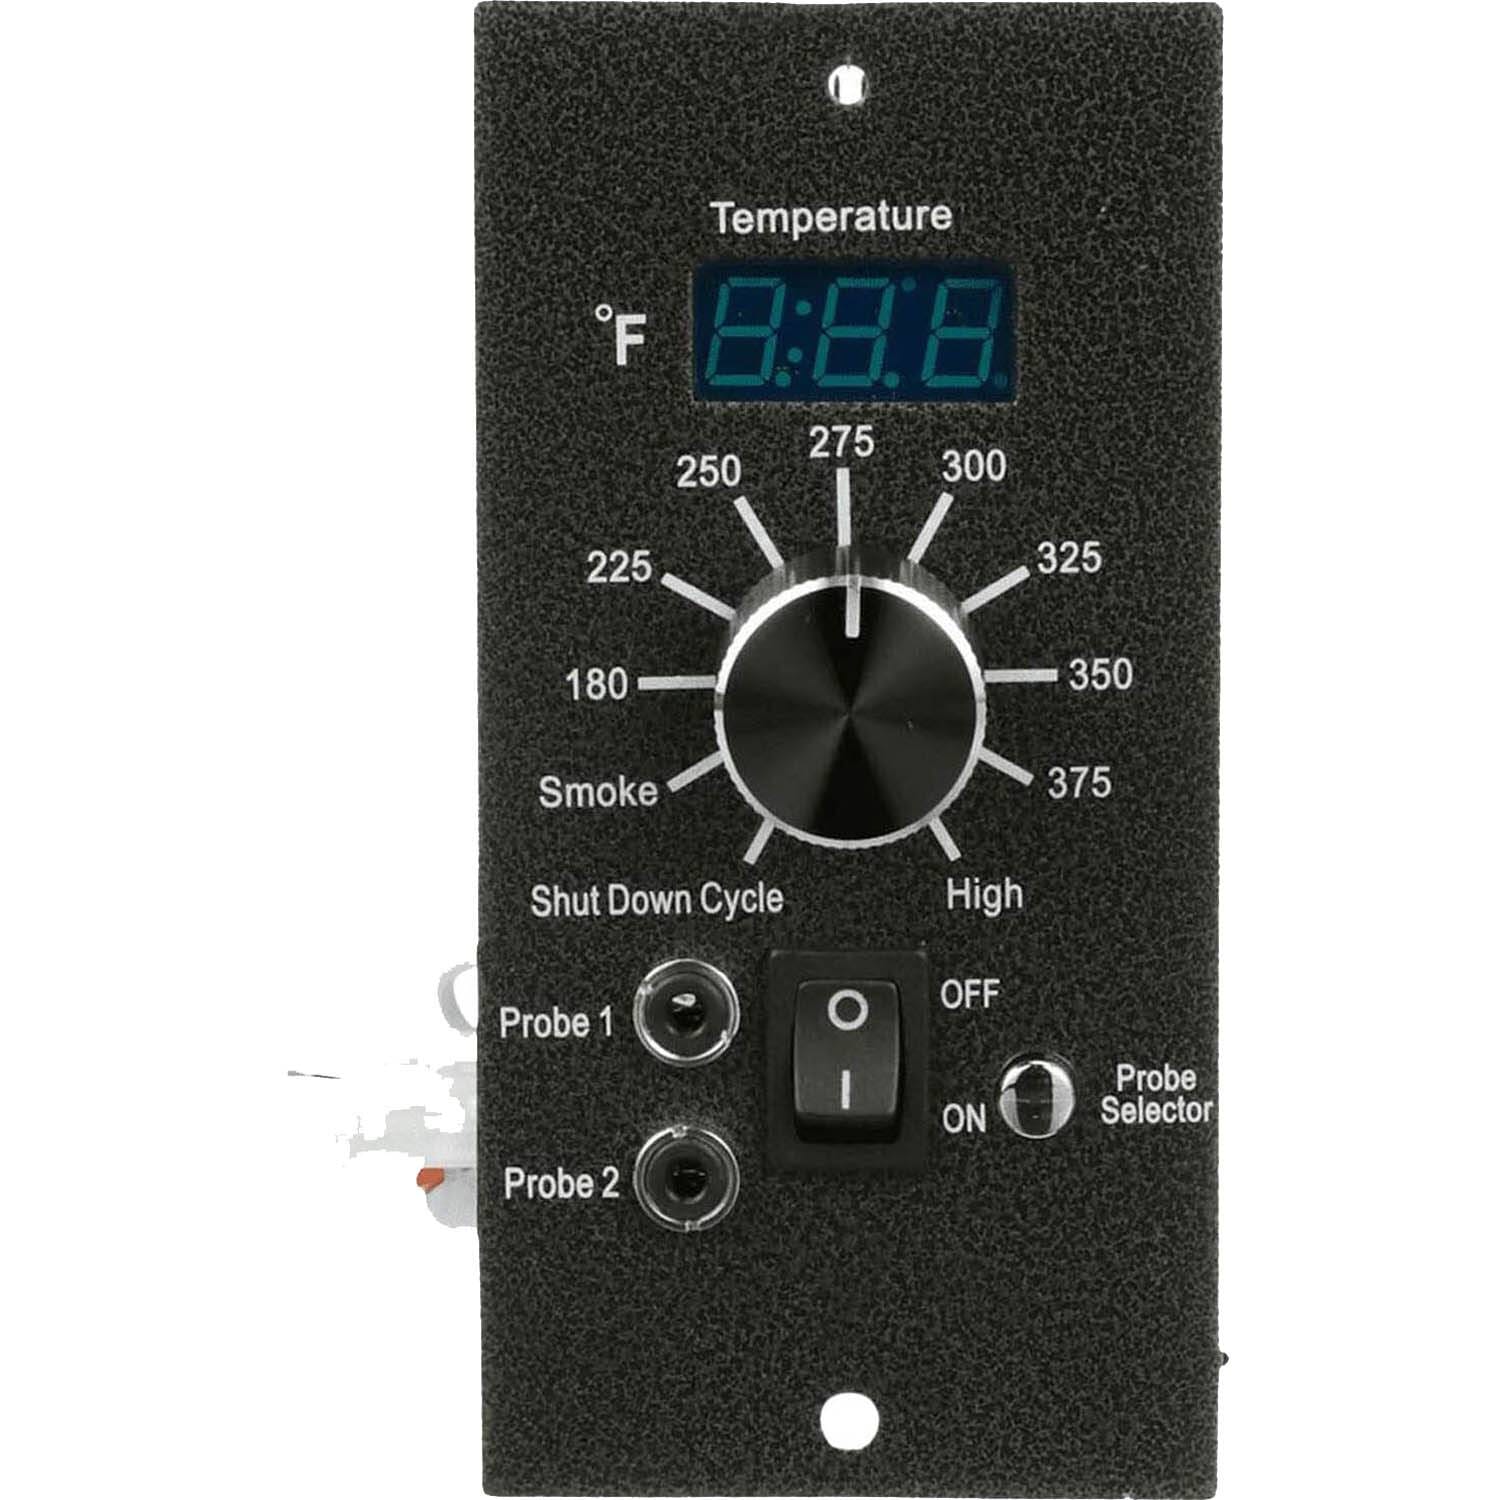
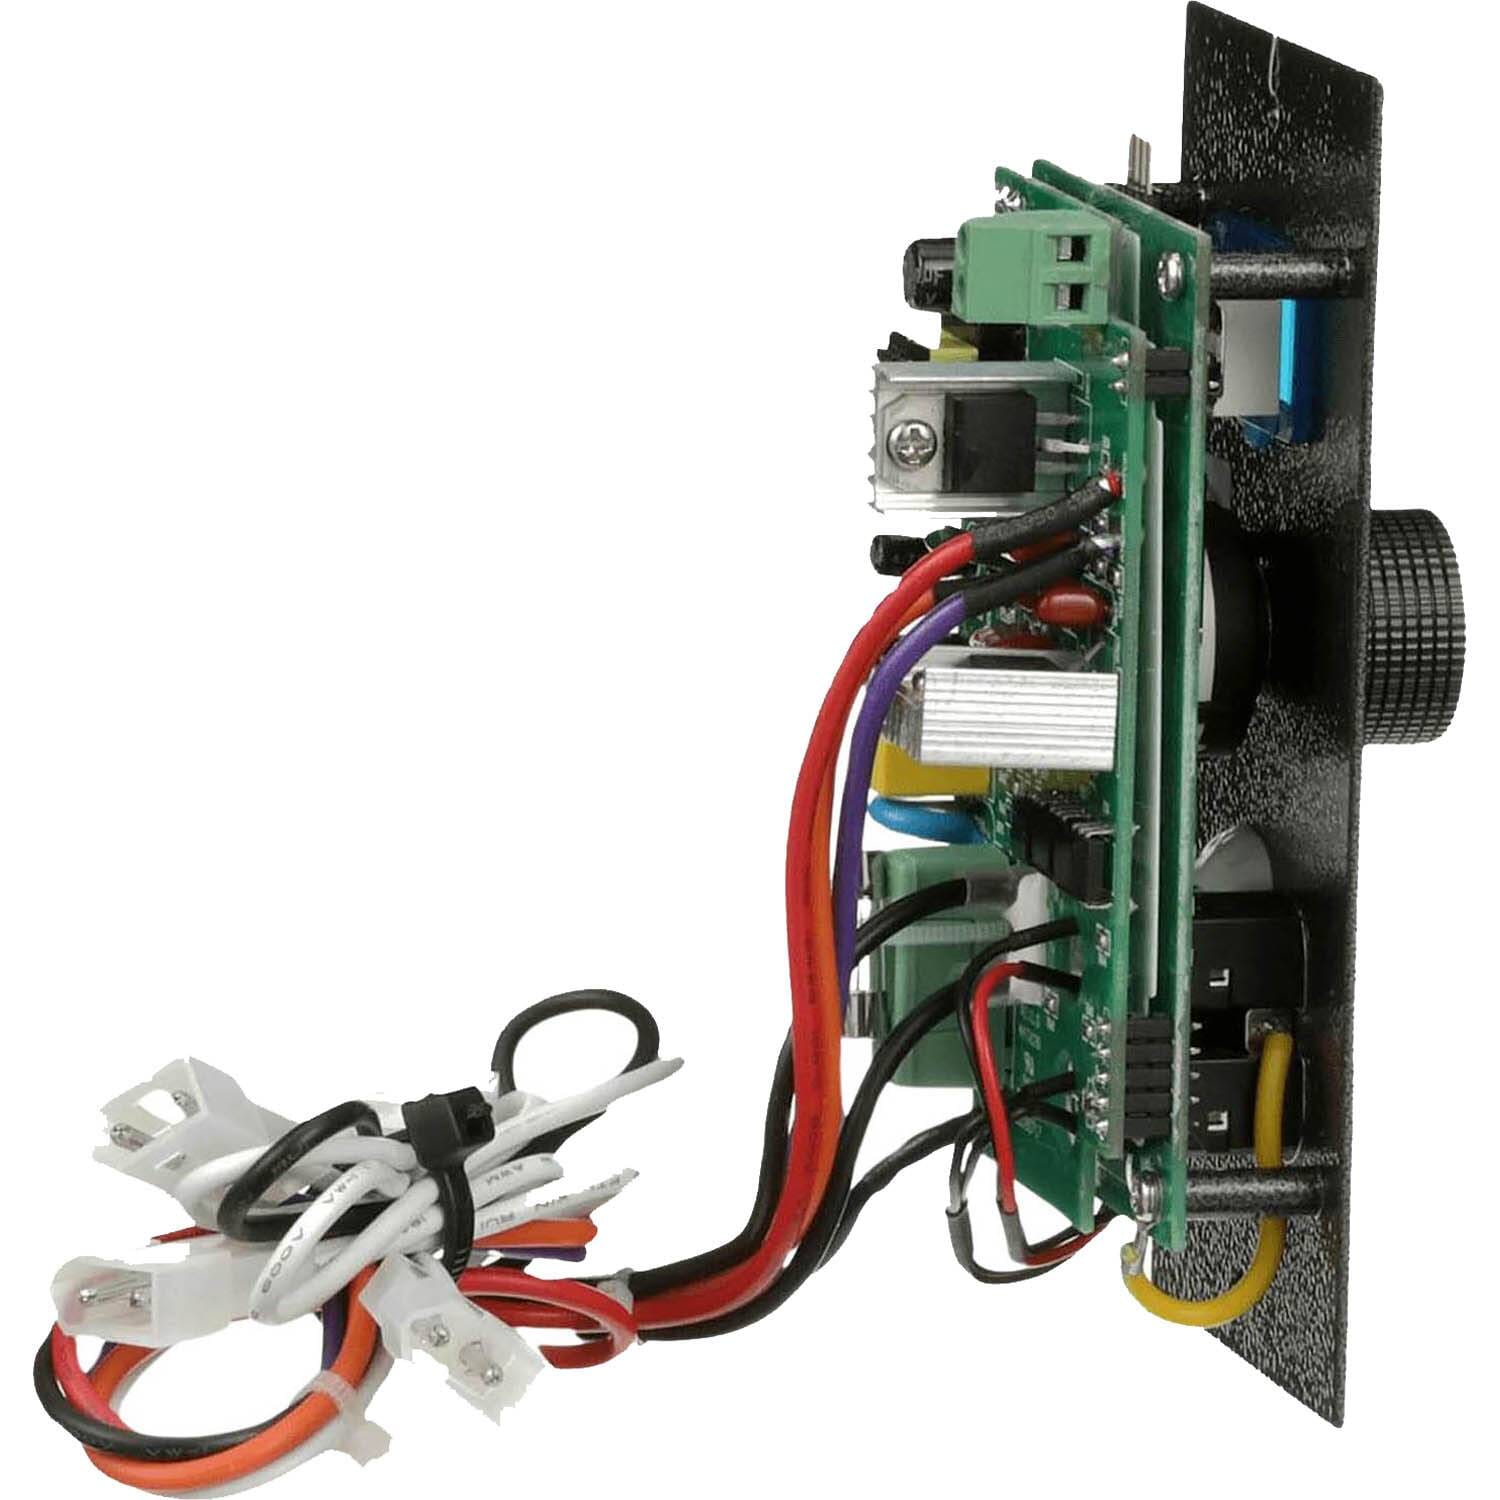
Traeger Digital Pro Controller, BAC-365-With Probes & Sensors
Product price:
$119.99
Product SKU ! BAC365-AMP-W-PROBES AND SENSORS
Product MPN ! BAC365
Bullet point features
- Aftermarket Part Learn more about the difference between OEM and AMP parts
- Includes 2 Meat Probes & 1 RTD Sensor
- Easy to Install
- Temperature Ranges From 180-375 W/ Smoke & High Settings
- Controls your Traeger temp to within +/-15 degrees F
- Ships FREE with orders over $99
- 30-Day Hassle Free Returns
- 90 Day Warranty Included
- Same Day Shipping On Most Items!*
- See Complete Description
You may also want to consider...

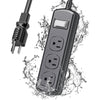
Traeger Pellet Grill Emergency Repair Kit With BAC365 Controller