Install Instructions For Englander Blower: AC-17-AMP
Instructional Documents
Instructional Notes
AC-17 Blower Wiring Instructions
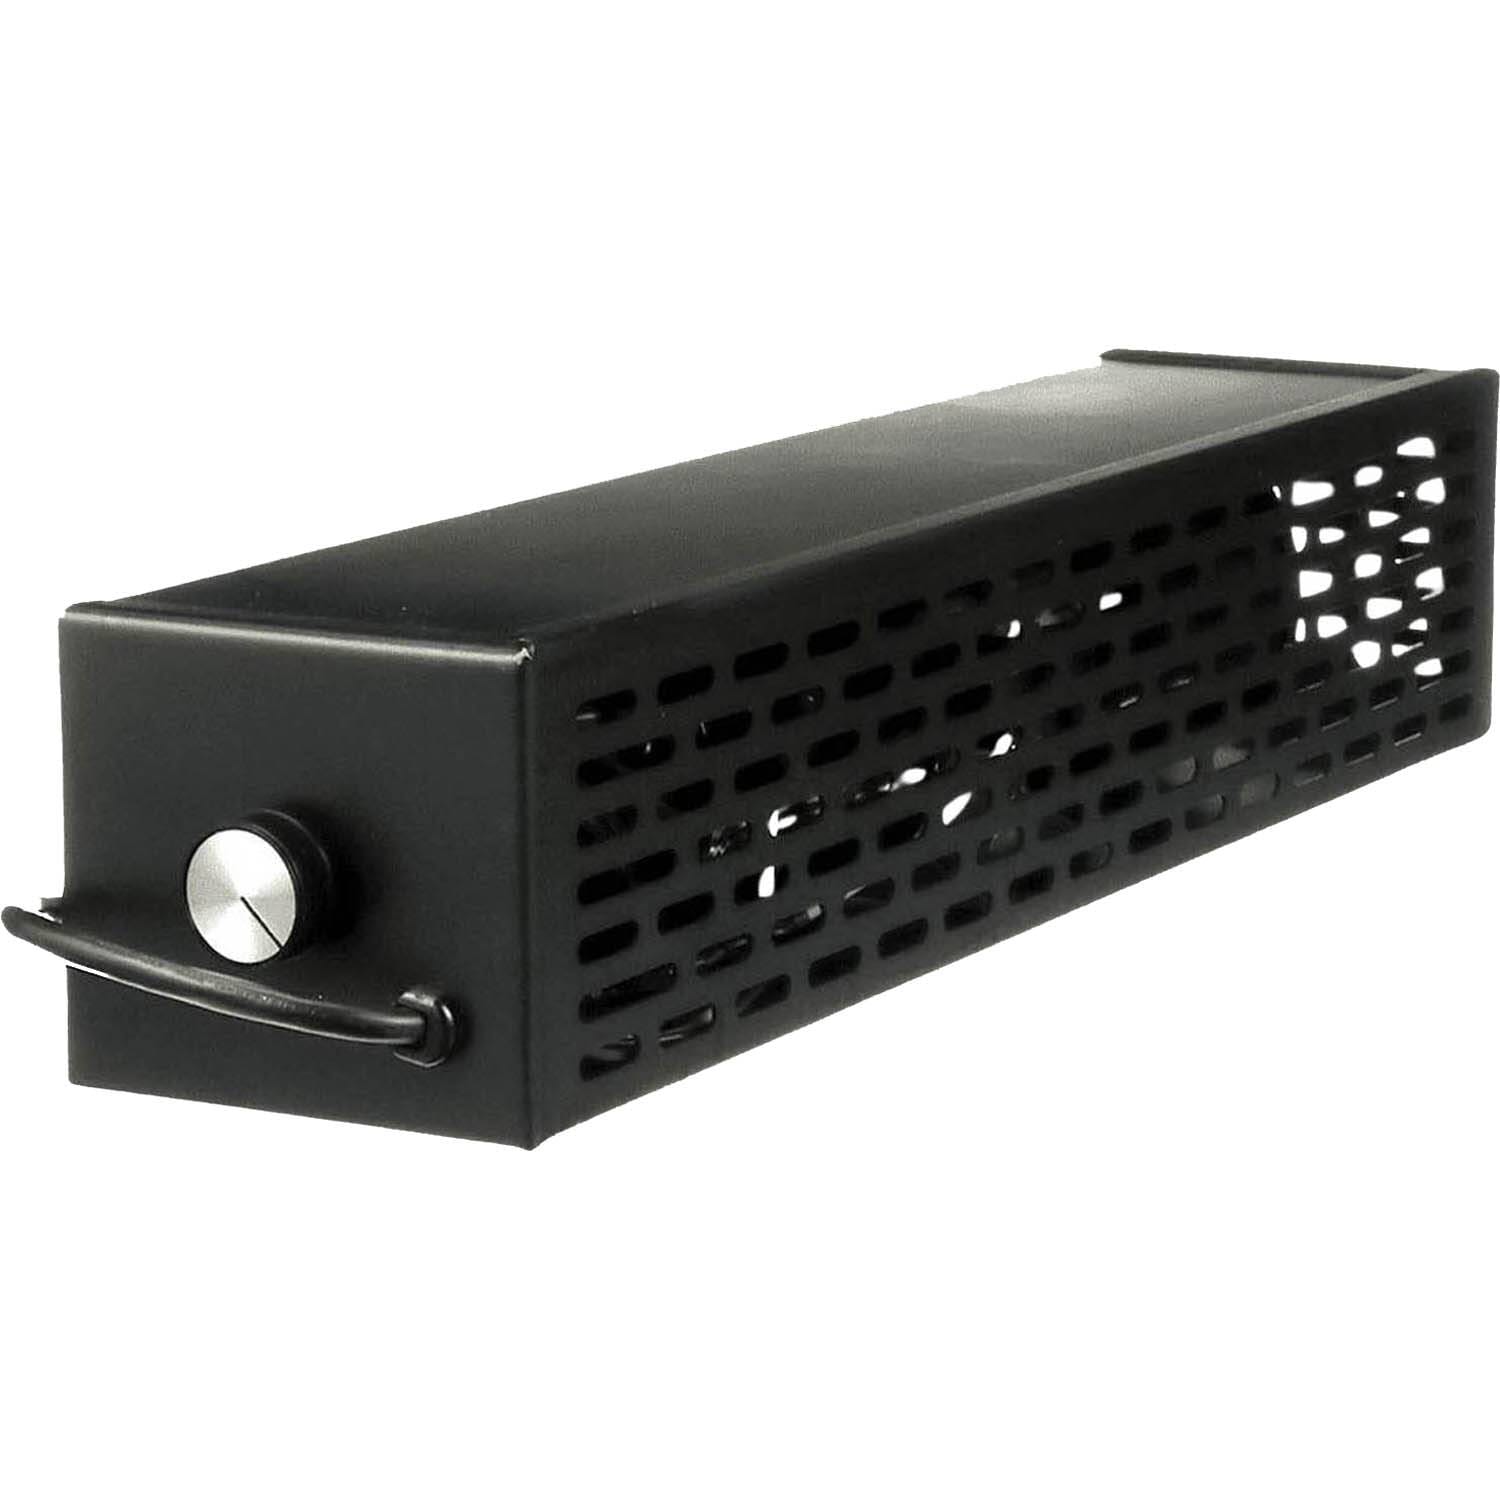
- Remove the rheostat package and power cord which are loose inside the blower and set these aside.
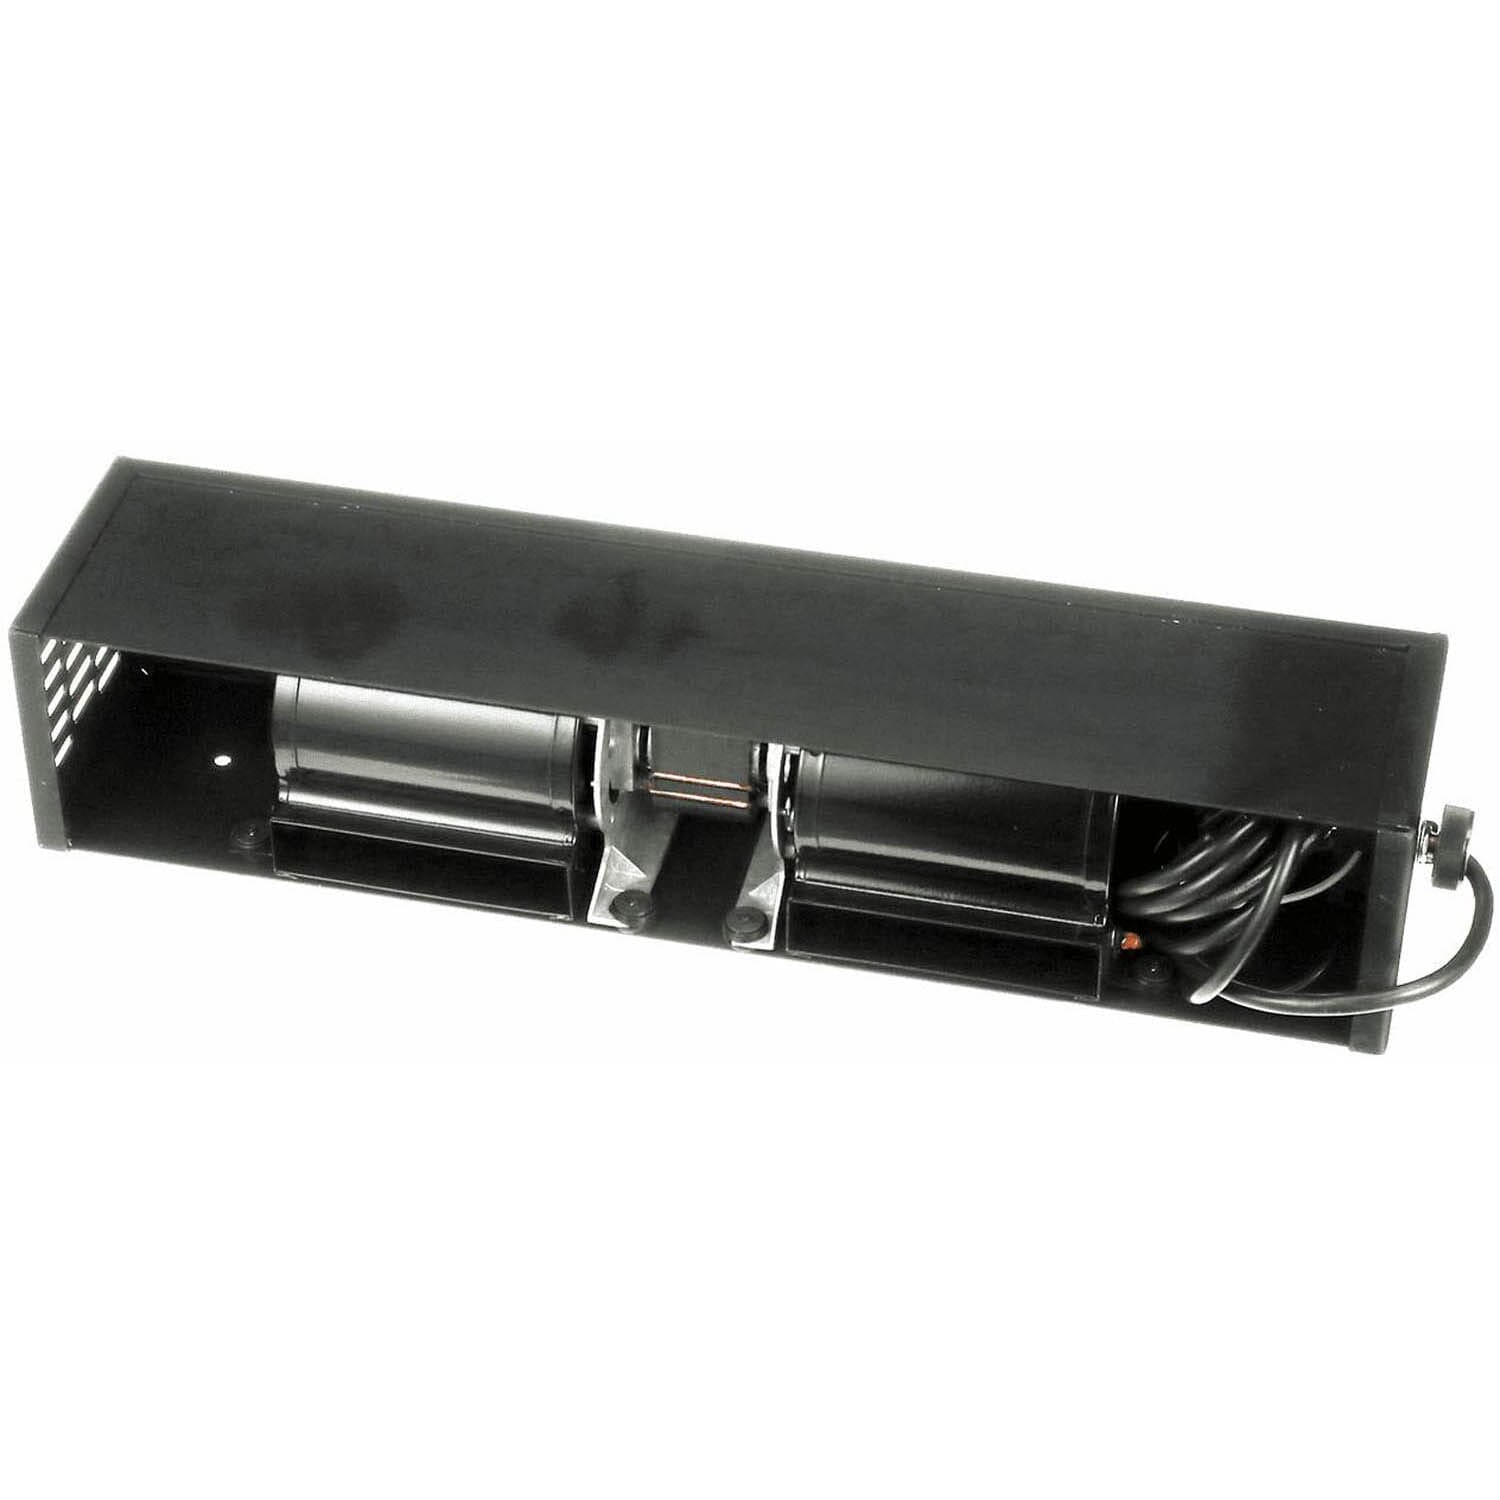
- Remove the 4, 8mm bolts that secure the blower to the housing. Set these aside along with the hex nuts. If any of the plastic spacers come out, place those back through the center of the rubber grommets which are attached to the blower’s mounting frame.
- Remove 1 of the Phillips sheet metal screws that secure the right side motor mounting bracket.
- Pass the power cord through the larger of the two holes on the right side of the blower housing.
- Attach the green wire grounding loop from the power cord to the right-side mounting bracket using the Phillips screw you just removed.
- Connect the white wire from the power cord to the white wire on the blower.
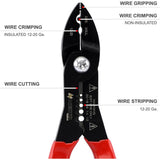
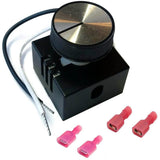
- Crimp 1 male spade terminal to the black wire on the rheostat.
- Crimp 1 female spade terminal to the white wire of the rheostat.
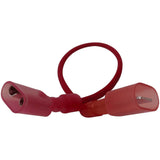
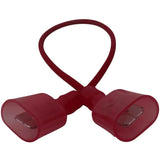
- Connect the wire with two male spade terminals to the black rheostat wire and the black power cord wire.
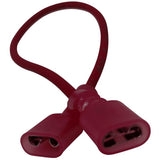
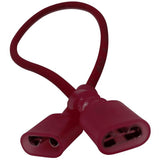
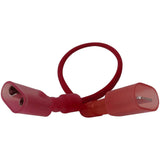
- Connect the wire with two female spade terminals to the rheostat white wire and the other end to the blower black wire.
- Pass the rheostat knob post through the smaller hole on the right side of the blower housing and spin the fast nut onto the post to secure the rheostat.
- Place the rheostat knob on the post.
- Reinstall the blower back into the blower housing using the bolts and nuts you removed in step 2.
- Connect the strain relief cord stopper by wrapping it around the cord and depressing the two halves with pliers. While depressing, push it into the cord hole pass-through and release.
RHEOSTAT CALIBRATION
There is a small calibration screw on the side of the rheostat. With the blower plugged in, turn the knob 1-click so that the blower is ‘ON’. This is the full power setting. As the rheostat knob is turned clockwise, the blower decrease in speed. At the lowest setting the blower should remain ‘ON’ at a very slow spin and should move a low volume of air. If the the blower hums, or stops or is not moving much air at the lowest setting, the calibration screw can be turned slightly to allow the blower to spin faster at the lowest setting. Adjust the calibration to the desired ‘lowest spring setting’ if needed. Remember, the blower should spin at a moderate pace to move enough air to be effective. After calibration, this will be your low setting. Return the blower speed to ‘FULL POWER’ and then turn it down again and verify that the blower slows down to the desired level. Your blower is now calibrated and can be inserted into the stove.