Install Instructions For Traeger Bottom Shelf Assembly For the Woodridge Pro Pellet Grill
Two people are recommended to complete this service. To keep the area clean, it is recommended to clean the grill body and firepot before servicing. Recommend the customer to place a large sheet of cardboard on the ground to prevent scratches on the grill.
Turn off and unplug the grill from power. Disconnect the power cord from the auger box.
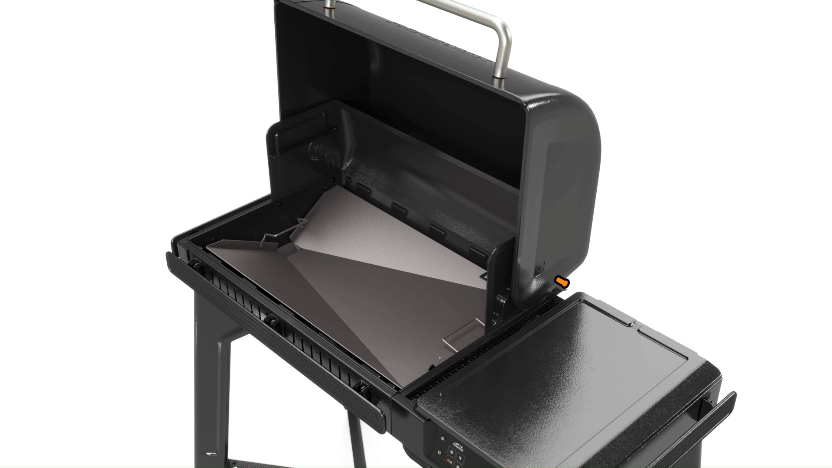
Open the grill lid. Remove the grates, drip tray, heat baffle, ash cap, and grease chute from inside the grill and set them to the side.
Remove the grease bucket.
Empty the pellets from the hopper.
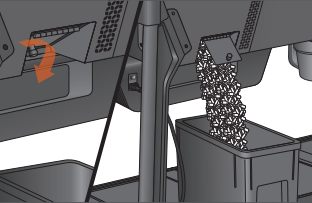
Remove the screw found on the upper back side of the grill between the hopper and grill and remove the heritage trim piece.
Remove the grill lid:
Open the grill lid. From the inside of the grill, remove the cotter pin from both the right and left hinges (1 pin each side) by pulling on the looped end.

Person 1: Hold the grill lid in place
Person 2: Push the two clevis pins out of the grill lid/backsplash and remove the two 3/8" washers (1 on each side).
With the help of another person, carefully lift the lid off of the grill and set aside.
Remove the 4 screws from the from the hopper lid hinge. Remove the hopper lid
Remove the controller:
Open the hopper lid and remove the x2 screws from the controller trim, keeping the controller installed in the trim (for Woodridge Elite grills, remove the 4 screws from the trim panel underneath the controller and remove the panel).
Remove x2 screws from the lower portion of the controller trim at the front of the grill.
Carefully lift up the controller and trim belt, then disconnect the RTD and Hopper Wiring harness from the back of the controller. Place the controller and trim belt aside on a work surface.
Remove the Backsplash:
Remove the x2 screws from the center backsplash at the rear of the grill and remove the back hooks.

Remove the x2 screws from both the left and right backsplash on the inside (x4 screws total).
Lift the 3 backsplash panels off of the grill.
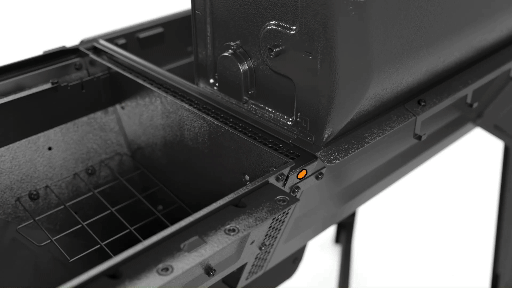
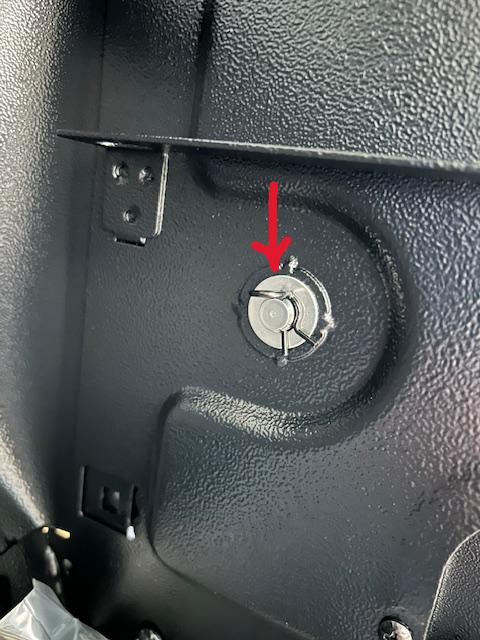
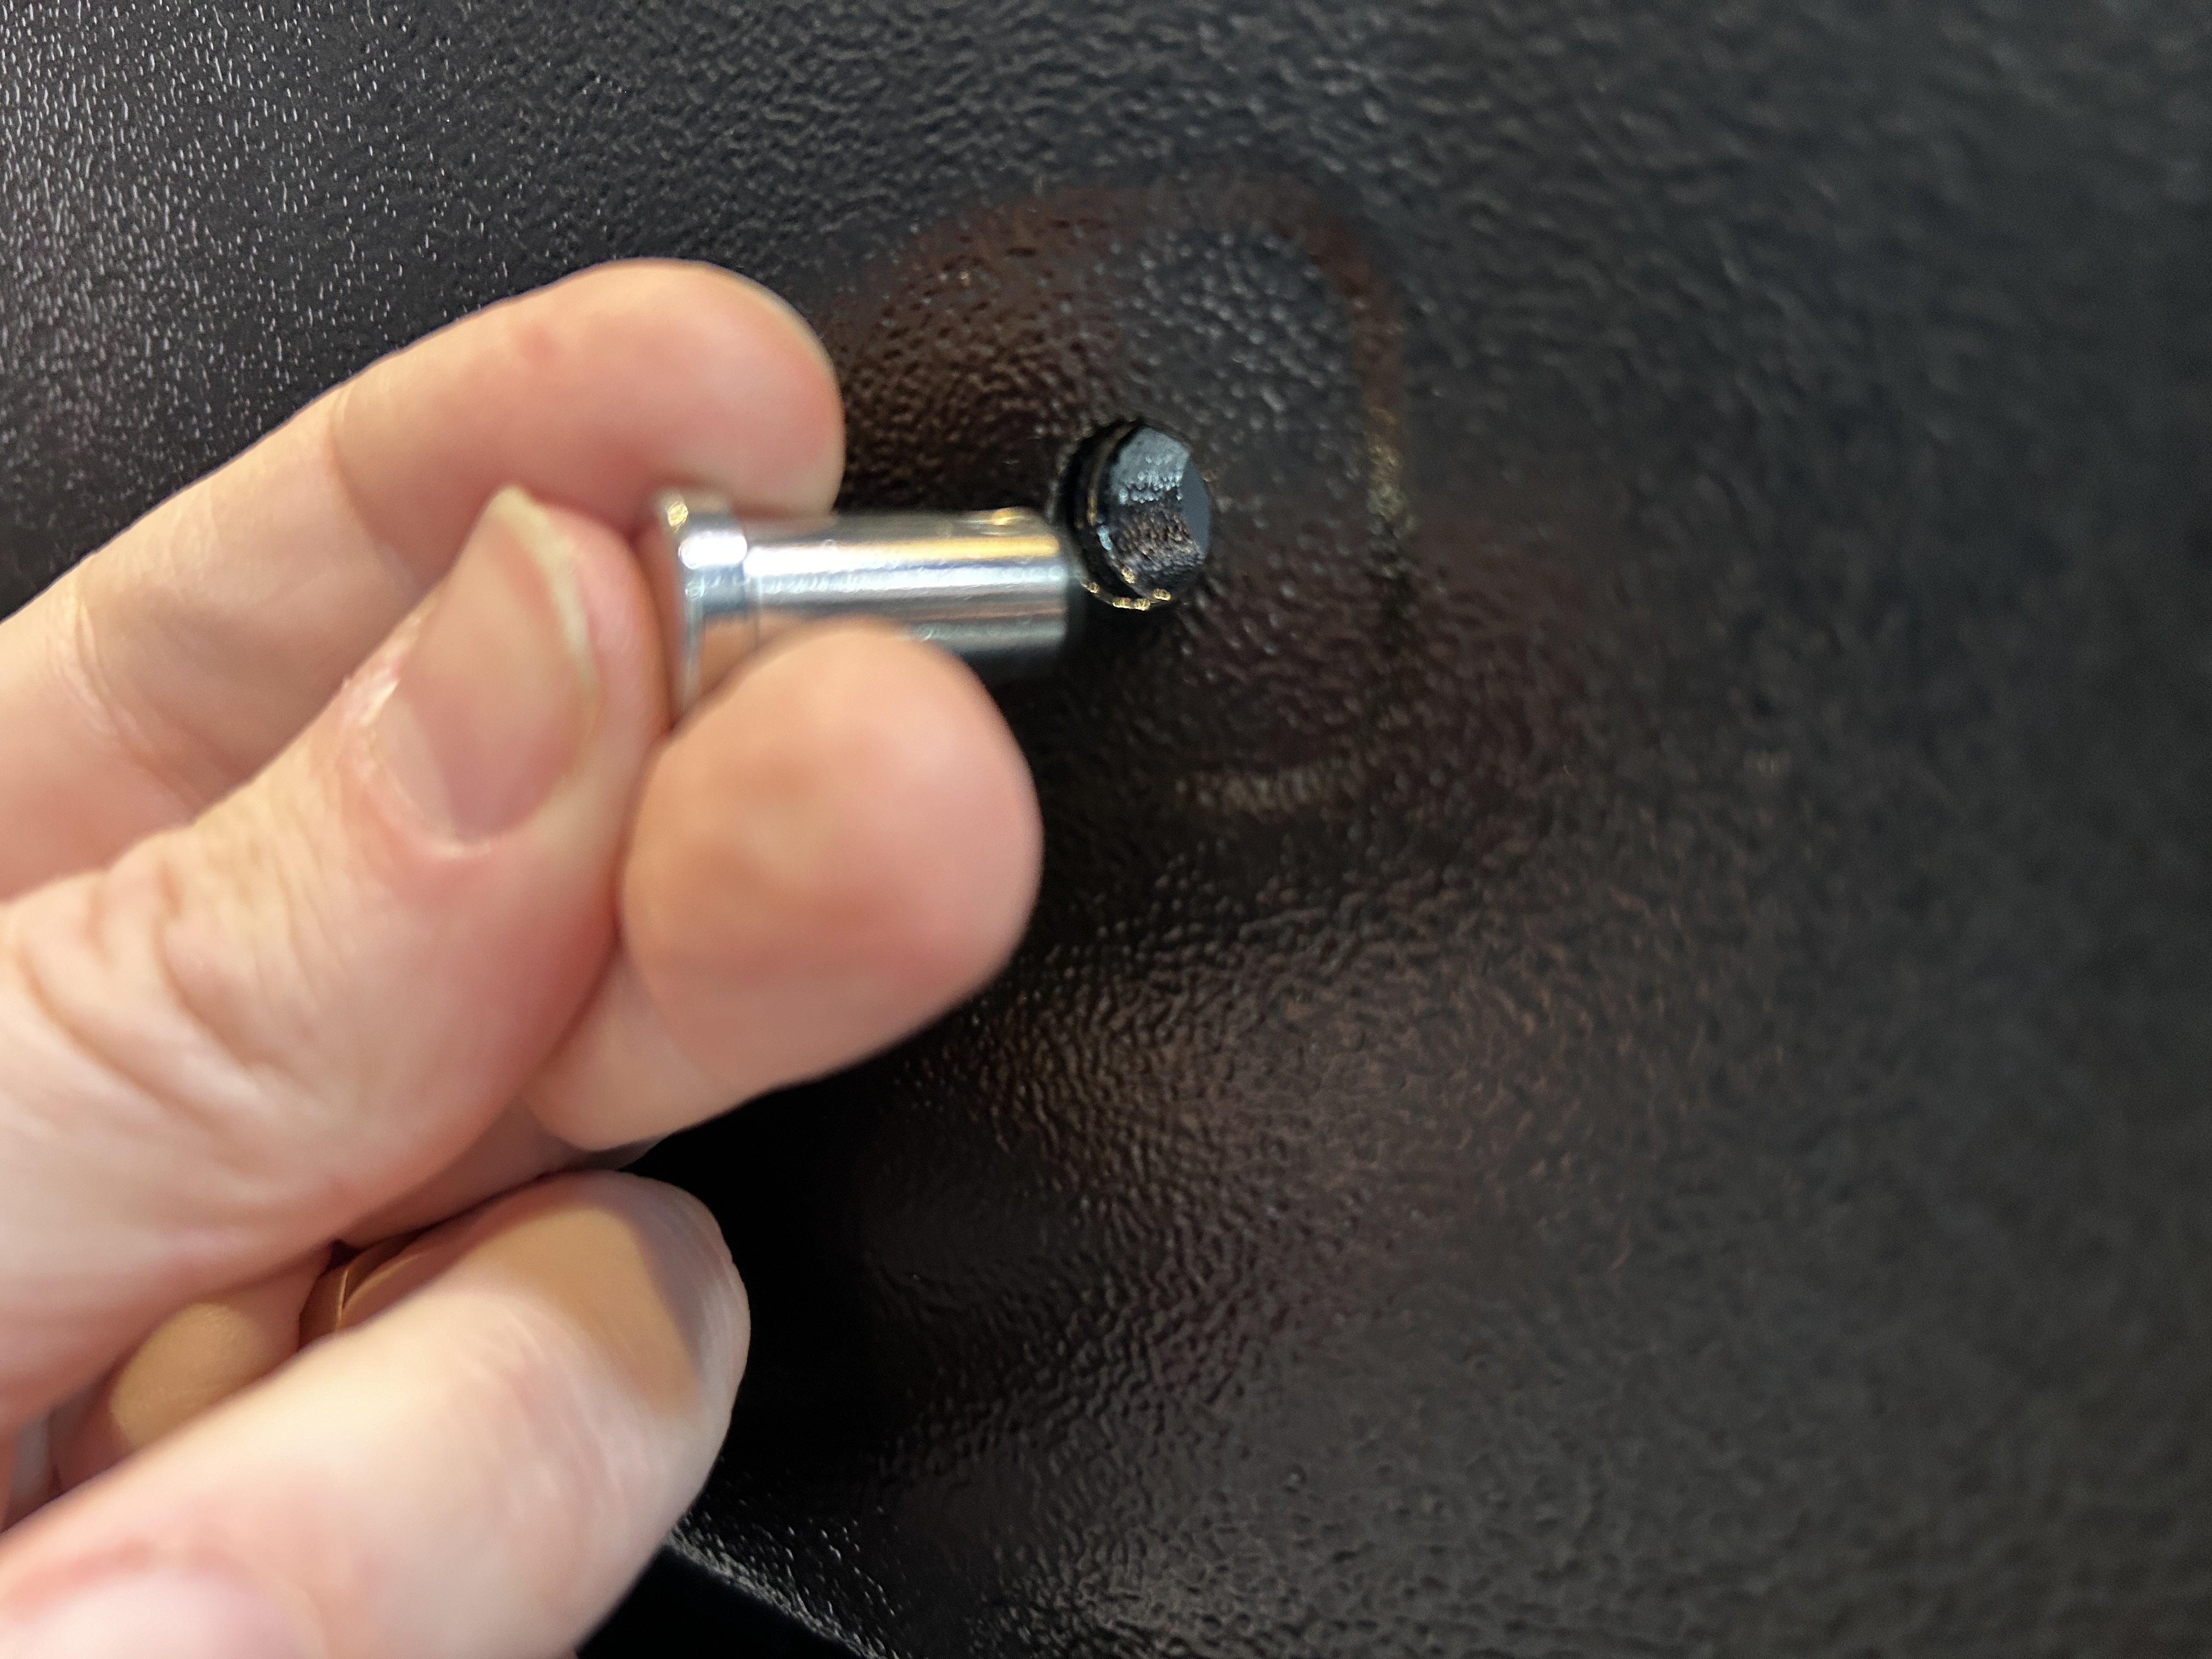
Lift the side shelf to the horizontal position. On the front and back side shelf brackets, remove the bottom 2 screws. Lift the side shelf off of the top shoulder screw, leaving it installed. Set the side shelf aside.
To protect the grill from scratches, place a sheet of cardboard on the ground in front of the grill.
With the help of a second person, carefully flip the grill upside down onto the cardboard sheet.
At the hopper end of the grill, remove 1x circle cotter pin from each end of the wheel axle (2 total).
Remove the wheels from the axle.
Remove the axle.
At the other end, remove one screw with lock washer from each plastic foot (2 total).
Do not remove the casters from the feet.
Slide the feet with casters slightly in towards the center of the grill to release the tab holding them inside the legs. Lift up to remove feet and casters.
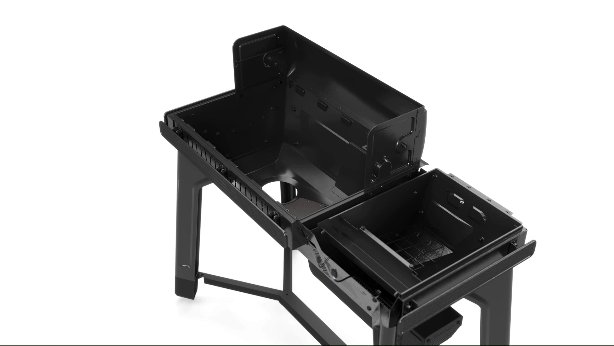
Carefully lift the entire bottom shelf assembly off of the legs and set it on a work surface.
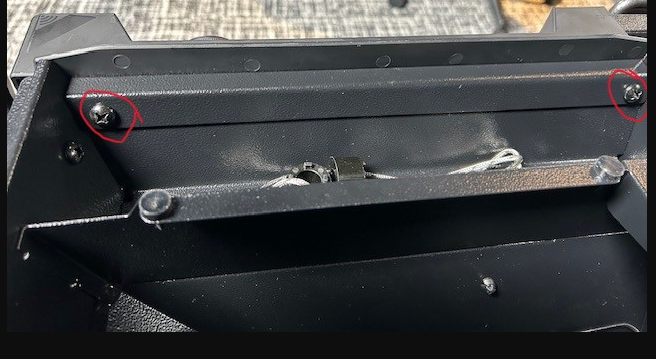
On the front and back edges of the bottom shelf assembly, remove 4x 1/4-20 X 1/2" screws each side (8X total) from the support brackets. Remove the two support brackets.
Underneath the bottom shelf assembly, remove 2x 1/4-20 X 1/2" screws from each side of the center bottom panel (4x total). Remove the end panels from the center panel.
Attach the new center panel with 4x 1/4-20 X 1/2" screws underneath the bottom shelf assembly.
Reinstall the two support brackets to the bottom shelf assembly using 4x 1/4-20 X 1/2" screws each side (8x total)
Lift the bottom shelf assembly and place it on the legs of the grill. Make sure the tabs at each corner of the bottom shelf assembly are placed into the slots in each leg.
At the hopper end of the grill, place the axle feet onto the legs and attach with 1x 1/4-20 X 3/4" screw with lock washer each side (2x total).
Slide the axle through both feet, then slide the wheels onto the axle.
Install 1x circle cotter pin to each end of the axle (2x total).
At the other end of the grill, place the feet with casters onto the legs. Slide them slightly away from the center of the grill to align the holes, and make sure that the feet are sitting flush on the legs. Attach with 1x 1/4-20 X 3/4" screw with lock washer each side (2x total).
With the help of a second person, carefully flip the grill right side up.
Place the side shelf back onto the top shoulder screws. Reinstall 1x 1/4-20 shoulder screw each side (2x total).
Lift the 3 backsplash panels up and onto the grill body. As you place the panels, make sure to route the RTD wire harness through the hole into the space between the grill and hopper.
Reinstall 2x 1/4-20 X 1/2" screws to the left and right backsplash each (4xtotal) on the inside of the grill.
Place the back hooks onto the center backsplash at the rear of the grill and reinstall 2x 1/4-20 X 1/2" screws through both parts.
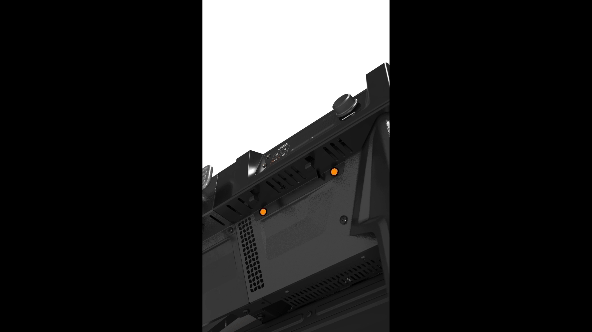
Inside the hopper, remove 2x 1/4-20 X 1/2" screws from the controller trim, keeping the controller installed in the trim belt. Remove 2x 1/4-20 X 1/2" screws from the lower portion of the controller trim at the front of the grill.
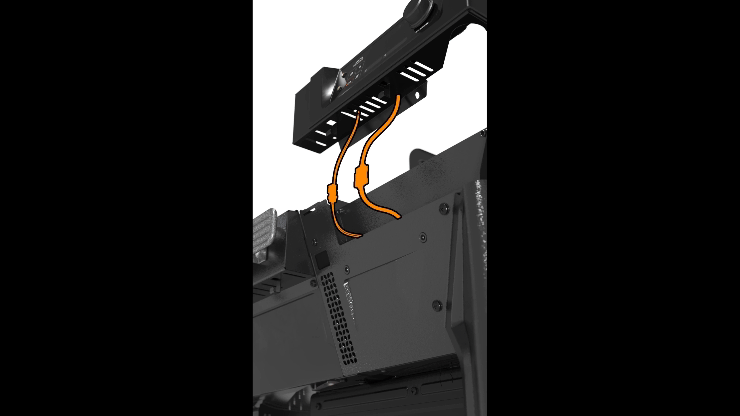
Lift the controller and trim belt out of the grill, then route the RTD wire harness through the rectangular opening at the front of the grill. Reconnect the RTD to the controller.
Place the controller and trim belt back onto the grill, making sure all wires are tucked in the space behind the controller. Reinstall 4x 1/4-20 X 1/2" screws to reattach the trim belt to the grill.
Slide the trim band into the space between the hopper and grill body from the back side of the grill. Make sure the tab on the trim band fits into the slot at the front of the grill.
Reinstall 1x 1/4-20 X 1/2" screw at the back of the grill to reattach the trim band.
Place the hopper lid back on the grill and attach with 4x 1/4-20 X 1/2" screws.
Carefully place the lid back onto the grill. Align the holes between the lid and backsplash and reinstall the hinge pins.
Carefully open the lid and make sure the hinge pins are pushed fully inward. Place 2x washers (1x each side) onto the hinge pins. Install 2x cotter pins (1x each side) to the hinge pins to secure.
Replace internal components in the grill.
Reinstall the heat baffle, ash cap, and grease chute into the grill.
Reconnect the power cord to the auger box.
Service complete. Be sure to prime the auger before next use.


