Mt Vernon E2/ Trekker Troubleshooting
Download the Mt Vernon E2 Owner's Manual .PDF
Review a List of Error Codes
Before you begin troubleshooting the feed system
- Make sure the Thermostat (TSAT) has good batteries.
- Make sure the receiver in the stove has fresh batteries.
- Make sure that the stove control dial is set to 'OFF'.
- Make sure that the TSTAT is calling for heat.
- Make sure there are pellets in the hopper.
Test at Priming Sequence
To engage the system without going through the entire ignition cycle you can simply perform a 'PRIME" cycle. Turn the dial control to OFF and then up to HIGH 2 times to prime.
- The "GREEN' light should come on solid.
- The combustion/ exhaust blower will come on
- Once the blower has climbed to full speed, the vacuum switch will close.
- Provided there is a closed circuit to the feed motor, through both safety snap discs, the vacuum switch and, the hopper lid switch, the feed motor will run continuously for 2 minutes.
If your unit is not feeding pellets...
- If the feed system was recently removed or a new one was installed prior to feeding problems
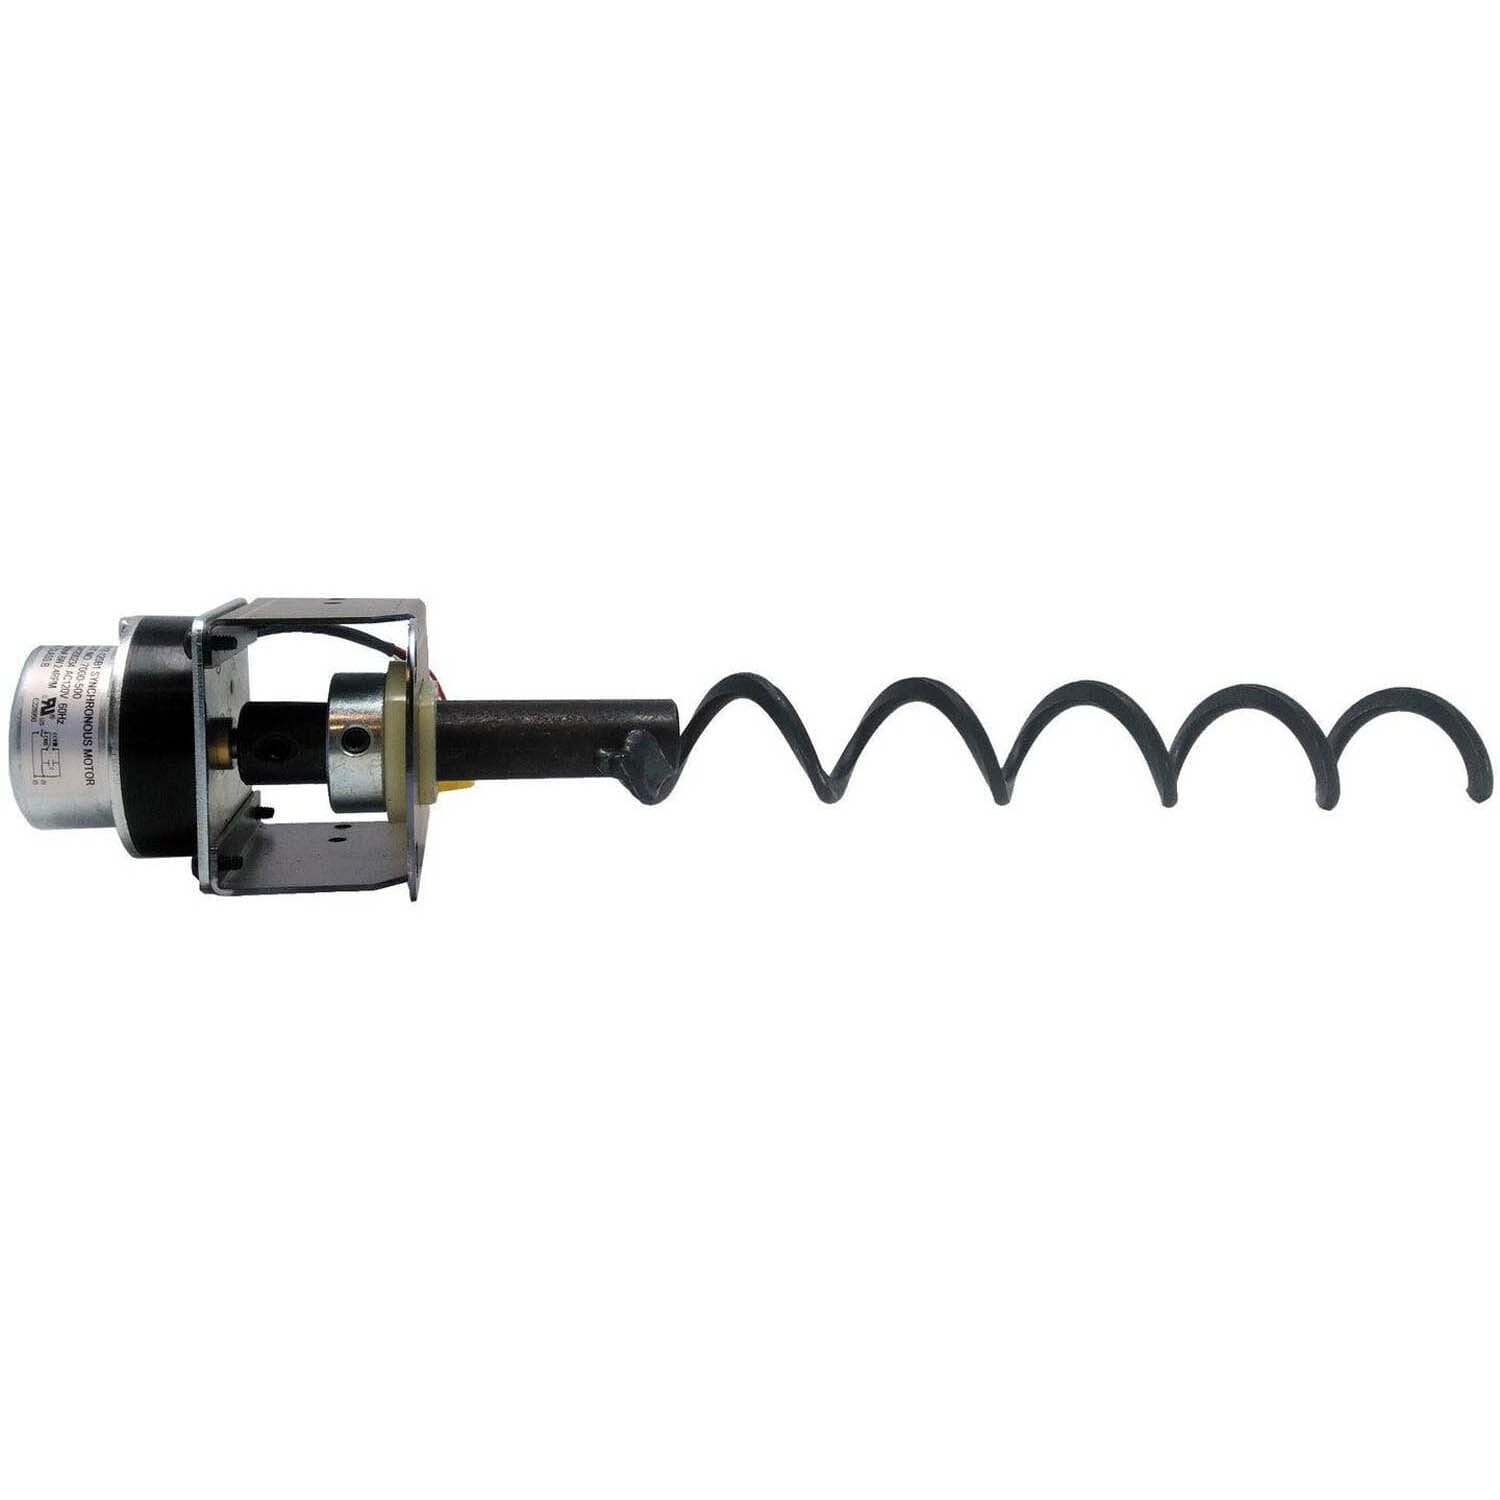
- Make sure the feed system is mounted correctly.
- The top of the motor bracket must be hanging on both of two upper hooks.
- The bottom of the feed system needs to be secured with the phillips screw.
- The gasket for the feed system must be under the motor mount and between the top of the feed tube.
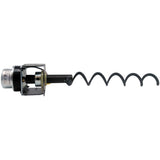
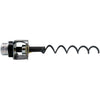
- The depth of the auger spring must be set to a depth of 13" from the bottom of the motor mount when secured to the feed motor.
- If the GREEN light comes on solid and there is no feed...
- Empty the hopper to look for an obstruction.
- Remove the feed assembly to check for obstructions.
- If no obstructions are found...
- Place a magnet directly on the hopper lid switch and try again, if this solves the problem, the switch is loose on the mount.
- Remove the pressure hose from the feed drop tube and look for an obstruction, clear it if anything was found, try again.
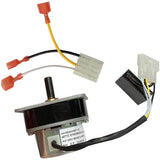
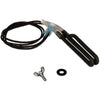
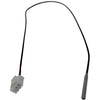
- Bypass the hopper lid switch (remove from circuit), if this solves the problem, replace the switch, SRV7000-375
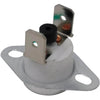
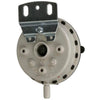
- Verify the vent is not blocked, measure the draft reading at the vacuum switch, it should be about .22 WC. Bypass the vacuum switch, if the unit feeds, replace the vacuum switch, SRV7000-531
- If no problems are found...
- Remove the Feeder assembly and make sure...
- the set screws are tight
- the depth is correct, the spring isn't warped
- the motor is turning, if the motor is not turning, replace the motor, 812-4421 or entire feed system
To Test Start Up Sequence
The unit will go into the ignition start up sequence (the green LED will flash rapidly). The ignition sequence involves the exhaust blower and igniter turning on, and the feed motor running in two stages. The first stage involves the feed motor running continuously for about a minute to start loading pellets into the fire pot. In the second stage, the feed motor will begin cycling on and off.
Due to safety precautions
- If the dial control is turned to OFF and back on (even if by mistake) the unit will go through the shutdown sequence before restarting.
- If the thermostat is turned to “OFF” during operation the appliance will go through a shutdown sequence before restarting.
- Each of these scenarios will ad approximately 10 minutes of delayed runtime as the stove needs to cycle through this safety protocol prior to starting.