Install Instructions For Harman Direct Vent Wall Pass Through Thimble with OAK- 3" & 4" Pellet Vent Pipe: 1-00-677177
Instructional PDFs:
Click here to Download the PDF Instruction booklet with Diagrams
Locating the Passthrough on the wall
- It would be best if none of the wall studs would need to be cut. Often you can move the unit several inches one way or the other so a stud comes to the edge of the passthrough hole.
- Remember to allow for floor protection (hearth pad, tile, stone, etc.) when marking the center of the passthrough location.
- Always be careful to avoid electrical wiring.
- Decide which exterior venting configuration will be used.
- See your Owners Manual for any code requirements that would not meet minimum venting clearance on the exterior wall.
Marking the Passthrough location on the wall
- With the vent pipe center located, draw level/plumb cross hairs through the center line.
- Offset these lines 3-5/8” to the top, bottom, left and right. This will create a 7-1/4” square box that becomes your through hole edges.
- NOTE: 7-1/4” square is the minimum size hole and 7-1/2” square the maximum size hole. The intersection of the cross hairs represents the center of the PL Vent Pipe.
Cut the Hole Through the Wall
- Never blind cut through a wall with an extended blade.
- Always turn off power breakers for any circuits that may be passing through the wall cavity.
- A flush-cut saw is the perfect tool for removing wallboard sections neatly and in a controlled fashion.
Install Wood Backer Strips for the Flange Mounting Screws
- Certain types of wall construction may not provide a suitable screw backing for proper flange support. The direct vent passthrough assemblies do not fasten to each other. They slide together with a minimum of 1-1/2” overlap but require the screws in the flange for support.
- Some types of screw backing, such as furring strips or plywood, will need to be installed on the inside of the stud cavity.
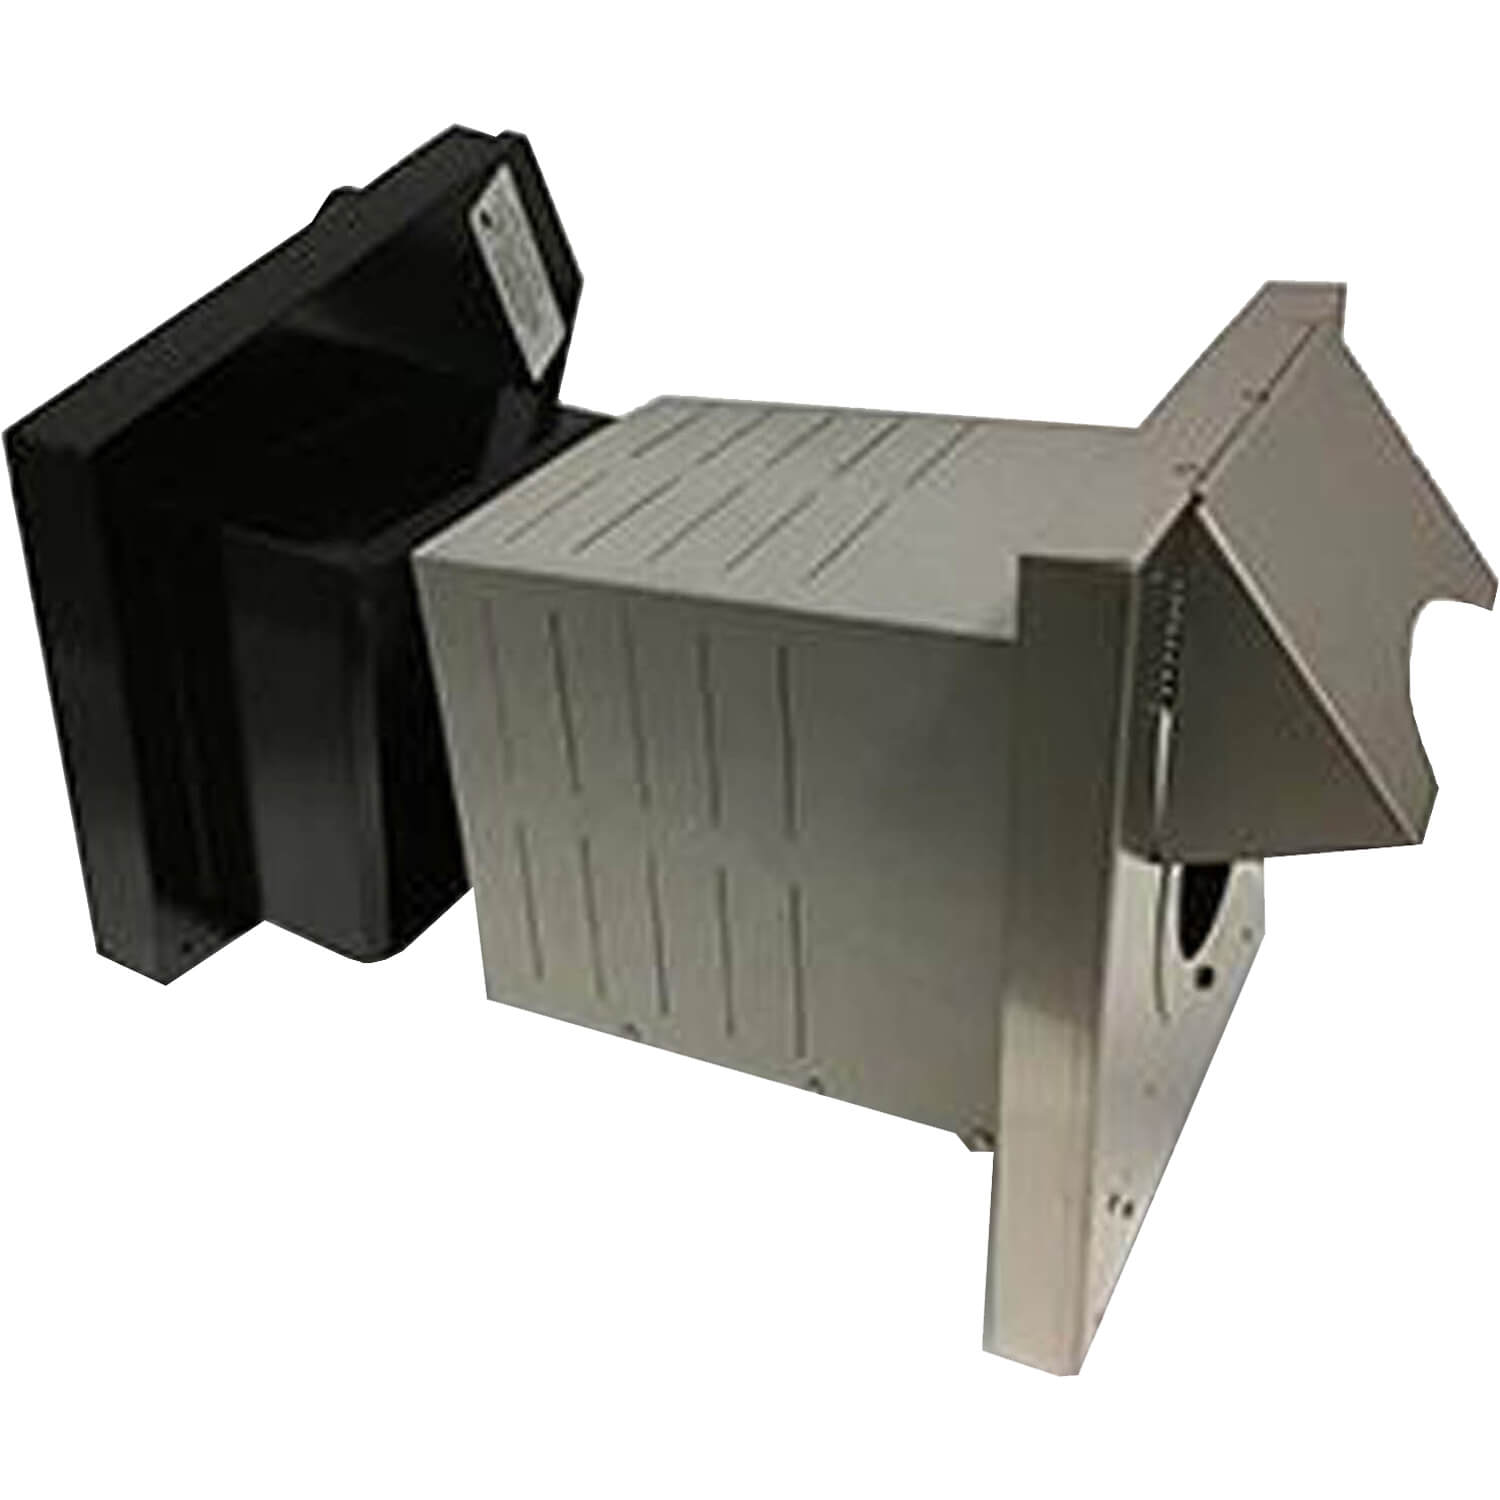
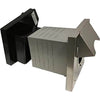
- The direct vent wall passthrough is comprised of (3) three pieces.
- Before starting the installation, TEST FIT THE FLANGE ASSEMBLIES together to get a better understanding of how the pieces fit together.
Installing the Outside Flange Assembly
- It is recommended that the outside flange assembly be installed first.
- It is extremely important that the flange is mounted level/plumb and in alignment with the unit flue outlet. The inside flange cover have little adjustment if the outside flange is installed improperly. Therefore, it is important to test fit the inside flange assembly to check for alignment before the final caulk and/or sealant is applied.
- Combustible materials can come in contact with any of the outside surfaces of the sleeves and flanges.
Installing the Inside Flange Assembly
- The intake pipe extension section of the flange should be installed in the upper left hand corner (for most insulations)
- The inside flange does not need to be sealed to the wall surface, but it can be if desired
- NOTE: The inside flange assembly may be installed in any of the (4) four positions if necessary for other then straight out the back installations.
Installing the Inside Flange Cover
- For straight out installations, set the intake pipe number that works best for the unit being installed.
- P43 Pellet Stove: #1-90-04300.............................. #7
- P61A Pellet Stove: #1-90-05801 ........................... #7
- P68 Pellet Stove: #1-70-00688.............................. #7
- Advance Pellet Stove: #1-70-08730...................... #6
- Accentra Pellet Stove: #1-90-02470...................... #3
- XXV Pellet Stove: #1-90-00677............................. #2
- PF120 Pellet Furnace: #1-90-08120 ..................... as necessary
- HydroFlex 60 Pellet Boiler: #1-90-232000............. as necessary
- Accentra 52i Insert: #1-90-574240*....................... as necessary
- P35i Pellet Insert: #1-70-774235*.......................... as necessary
- Note: ONLY when when installed with 3” pellet vent. 4" installation may require these numbers to increase by 1.
Instructions for installing the Outside Air Sensor for the Touch Control (Part #1-00-70607)
- After the inside and outside flange are mounted but before the inside cover is mounted, the outside air sensor wire should be installed
- Feed the sensor end of the wire up through the knockout hole located in the bottom right corner of the inside flange
- From here, feed the wire through the hole provided just above the knockout hole
- Run the wire along the bottom right corner of the outside flange, exiting through the knockout hole provided extending roughly 3” to the outside.
- Install the Stainless Steel sun shield by drilling two pilot holes with an 1/8” drill bit and pop rivet the shield to the outside flange using the black pop rivets supplied
- Complete the inside cover and Tie wrap the wire to the tabs located inside the sun shield.
Complete the Intake Flex Pipe and Venting
- The unit can now be set into place to get the length for the intake flex pipe and for the PL vent pipe.
- It is recommended that the flex pipe be siliconed into the pipe stub of the passthrough, but not siliconed into the unit’s intake pipe stub so that the unit can be easily moved, if necessary
- NOTE: The PL vent pipe should be siliconed where it passes through the inside cover but it is not necessary where it passes through the outside flange, unless desired
- NOTE: Follow the PL vent pipe manufacture’s recommendations for 3” clearances to combustibles to the point where the pipe enters and exits the Direct Vent Wall Passthrough
- NOTE: See the Owners Manual for the unit being installed for exterior flue pipe termination restrictions
- NOTE: The Direct Vent Wall Passthrough is only certified as a venting component if the outside air is connected to the intake pipe of the listed stoves manufactured by Hearth and Home Technologies.